Wednesday, June 15, 2016

June Pinterest Pick 3 Linky


I'm linking up with  Inspired Owl's CornerPAWSitively Teaching,  and Just Reed! for this month's linky party! 
Here are some great Pinterest ideas to help inspire you for the month of June.  For those of us still in school, there’s Father’s Day, Flag Day, and those last few days when you just want to do some fun activities. Hope these ideas help!


Although we just finished up our Father’s Day key chains for this year, this next gift looks like a lot of fun to design and the Dads would enjoy it! You don’t even have to buy new ones as you could recycle golf balls. 


I also love this free coloring sheet that they can color to go with it! 


Flag Day is June 14th and it’s a perfect time to make flags.  Here’s a fun collaborative poster for your kids to work on together. 

                                   Click for the original pin 

Below, my kids are creating their own flag to bring home as well.


With school coming to an end, I’m always looking for a fun way to say thanks to the room parents for all their help!  How great are these gifts?  


Sunday, June 12, 2016

Fun Father's Day Gift and Activity


Father’s Day is almost here and I'm usually up late trying to find some fun gift for my kiddies to give to their dad.  Once we created a BBQ rub which in the end had a little too much cayenne pepper and a lot of ‘heat’ to it.  It probably should have come with a disclaimer, but it was the thought that counts. Right?  I guess that’s what happens when there are 24  seven year olds  measuring the spices. Not this year... I got an early start and it feels GREAT!


We created key chains using Shrinky Dinks and the kids and I loved how they came out.  The kids used the frosted Shrinky Dinks and a template of a star or a tie  or they were able to create their own.  It’s super simple.


I cut each sheet into 4 pieces (each piece was 4x5) so you'll just need one pack.

We used Sharpies (on the rough side of the shrinky dink) to outline the shape and  colored pencils to color it in.  Since the shrinky dink has a shiny/dull side when done, my kids wrote the DAD in reverse so it would look right on the shiny side and it would be the ‘front’ of the keychain. They practiced on a post-it and then traced it in the keychain.


This is what it looked like on the rough side.

Cut out the shape and make sure there are no sharp edges- they will become sharper when shrunk.


Most important: PUNCH THE KEYHOLE (larger than you want it since it will shrink too!) BEFORE BAKING!!!   It will NOT work after- I know this by experience!

We shrank them in the classroom and used a toaster set at 325 for 1-3 mins- colored side up. I used the toaster tray and put a piece of cut up paper bag on top so it wouldn’t stick.  So many of them hadn’t used them before so it was a hoot to watch their reaction. 


Prior to baking:


After a few minutes, take it out, pop them onto a table and if needed, flatten them out by using another piece of paper.
I sprayed them with a clear spray (just on the dull side) and added the steel rings when they were done. 


We wrapped them up in tissue paper and added them to our gift bag along with our Father’s Day book, acrostic poem, and card. You can create this book and card with your class by clicking here. We are ready to go!


I also love this year's cast of characters... too cute!


 These also make a great June snack- what a fun way to start the summer!

Here's what you'll need:
Bun- Nilla Cookies
Burger-Grasshopper Cookies
Lettuce- Coconut (add a touch of green 
food coloring and toss in a ziploc)
Mustard and Ketchup- red and yellow icing (the kind you squirt)


Thursday, June 2, 2016

If You're Thinking About Making Glue Sponges...


If you're thinking about making glue sponges and want to know if they're worth it, read on...

Ever since school ended last June, I heard all about glue sponges and saw them everywhere.  I wanted to see if they were worth the time and energy.  I waited all summer to try it and finally, I made them in September.  I tested it out with a few kids and they loved it so much, I made one for every group.  They truly are so simple to make and my kids even helped me out.  Each glue sponge uses a little less than a bottle of glue and can be used throughout the year.

So, now it’s June and my glue sponges are still going strong!  Since we don’t use them every day, we keep them moist with a few spritzes of water every now and again.  Occasionally, we flip them over.  I thought that maybe they would begin to smell, but there is no odor at all.  

In short, I would highly recommend making them as they save a ton of time when gluing little pieces down and for the first time since I can remember, we haven’t run out of glue sticks-since some art projects just need a glue stick!

So... why make glue sponges?
·         It’s easy to put glue on the little pieces of any cut and paste activity.
·         Perfect for interactive notebook pieces.
·         There are no messy glue sticks and no missing caps.
·         They last for the whole year!
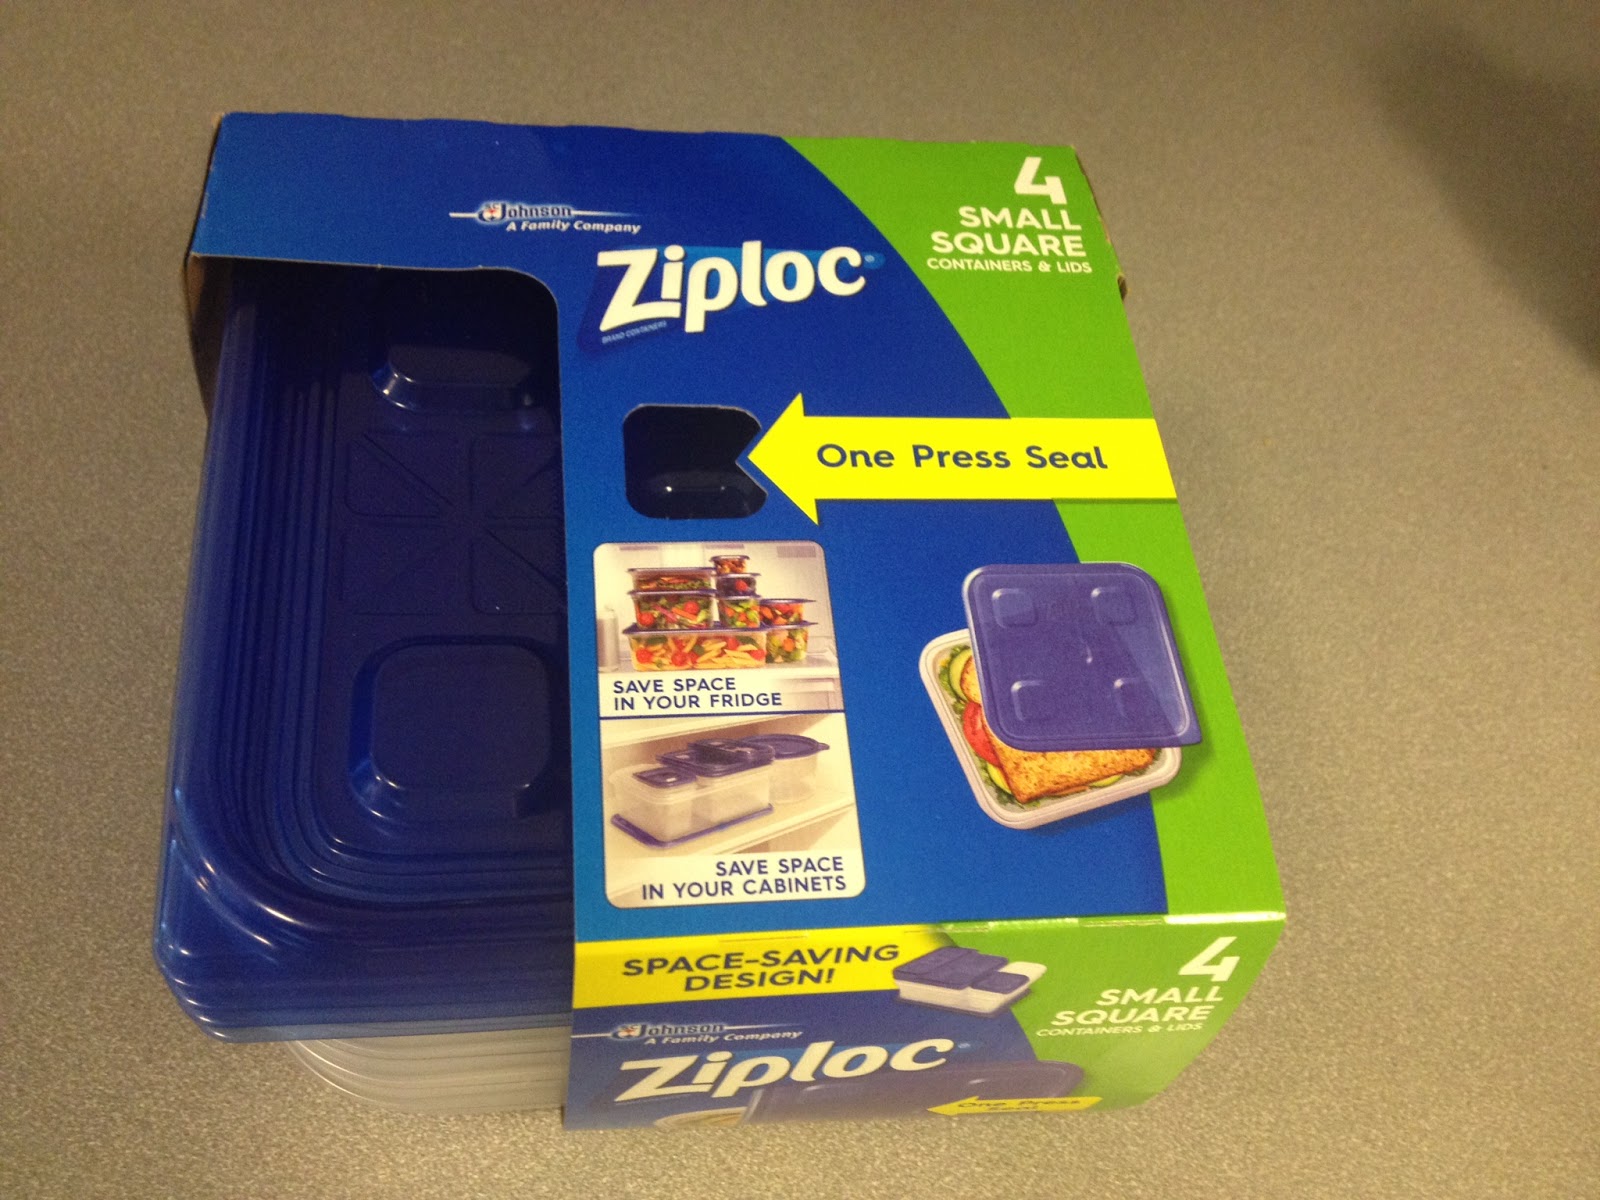


 What you'll need:  
Containers 
(I didn't buy the dollar store kind since when I used them for a project last time, the seal wasn't great.)

Sponges 

Elmer's Glue
Glue sponges are also great for emptying out those almost empty glue bottles that take forever for the glue to get to the top! 


 I used a little less than a bottle for each glue sponge. 
 I poured some in the bottom, laid the sponge down, and added a little more glue on top.


Seal it up and your glue sponge will be ready to go the next day! Don't worry, the sponge will absorb the glue.


We use them all the time!  In fact, a few of my kids loved them so much, they made their own sponges at home! 


I hope you enjoy your glue sponges and much as I do! 
Let me know how yours turn out.